
.png)
.png)
- This is a new legion dungeon that added after the release of Bakal raid. This is the content for your special equipment fusion epics. This post will only go over briefly how this dungeon works. For full and complete information, visit this Season 8 Act 5: Archmage's Dimensional Corridor post.
- Check out DFOG Official Content Creator Sikrena's Archmage's Hall: A Minimalistic? Guide as well. Share the loves. And special thanks to Pata from GBL Discord Server for providing boss's weaknesses.
- This post was also made for 2023 Master of Hall of Dimensions event. Here is my character and explorer club.
- There are total of 5 bosses and each week you will only face 3. This dungeon is very straight forward and similar to the other legion dungeon, Ispins. You know the drill, pick a card base on fame recommendation, 30 tries each boss, you can reselect difficulty, etc. Kill the boss to get rewward.
- Distortion Gimimicks: This is a common gimmick that exists in all boss fight here. When a distortion occurs, the library keeper proceeds to restore the distortion. However, there is a system where the maximum HP and MP are partially limited if hit by the boss during this time. The distortion lasts about 20 seconds.
- Due to the gimmick, the limited HP/MP is recovered by 1 stack when using an item or skill that cancels abnormal conditions (e.g. Remy’s Sparkling Touch and Toy of Sparkling World).
- Distortion is cumulatively applied in 10 stacks, each step in 10% increments, up to a maximum of 99%.
General Approach

Transcendent Difficulty
- The last boss out of the three will have the transcendent difficulty, which is the highest level. Here the boss is stronger and has much more HP.

- This boss will has a transcendent gauge that continuously fill up. Hit 100% will automatically fail and you have to re-fight. Here's an example of the Lady of Light flies high into the sky, concentrates her strength on the window, and casts Time and Space Strike, resulting in auto fail.
- The second gauge is the damage gauge located on the top right corner. The gauge fills up when you don't get hit. The gauge is divided into 4 stages, and the damage is amplified in the order of 50% > 100% > 150% > 400% at each stage. Getting hit will reduce this gauge. So...git gud

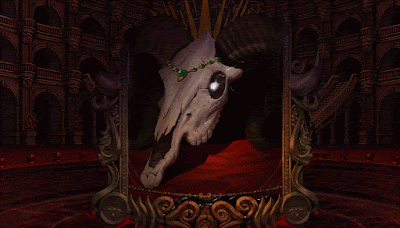
Boss Gimmicks


.png)
.png)

.png)


No comments:
Post a Comment