2.jpg)
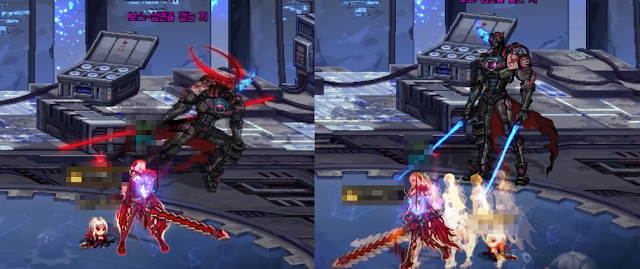
- Korean Name: 심연을 걷는 자
- This is the final Boss in Destroyed Castle of the Dead, an Advanced Dungeon in level 110 cap.
- HP are based on single or party mode
Single Player Mode | Normal | 87.5 million / 875 lines | |
Expert | 244.8 million / 2448 lines | ||
Master | 279.5 million / 2795 lines | ||
4 Player Mode | Normal | 1.29 billion / 12920 lines | |
Expert | 4.22 billion / 42234 lines | ||
Master | 5.14 billion / 51044 lines | ||
- This boss is a combination of Evil Sword Veara and Moonlight Walker Yashin, the 2 bosses you encountered back in Luke Raid. He has 2 phases, and phase 2 activates when HP drops below 50%.
Phase 1
- Throughout the fight, he has an Abyssal Gauge that keep changing. In phase 1, the yellow circle will constantly fills up. Each fill will switch him between Yashin (blue) and Veara (red) mode.
- If you damage Yashin, the blue percentage decreases. If you damage Veara, the red percentage decreases. If you can get both down to 0%, you will get a long groggy.
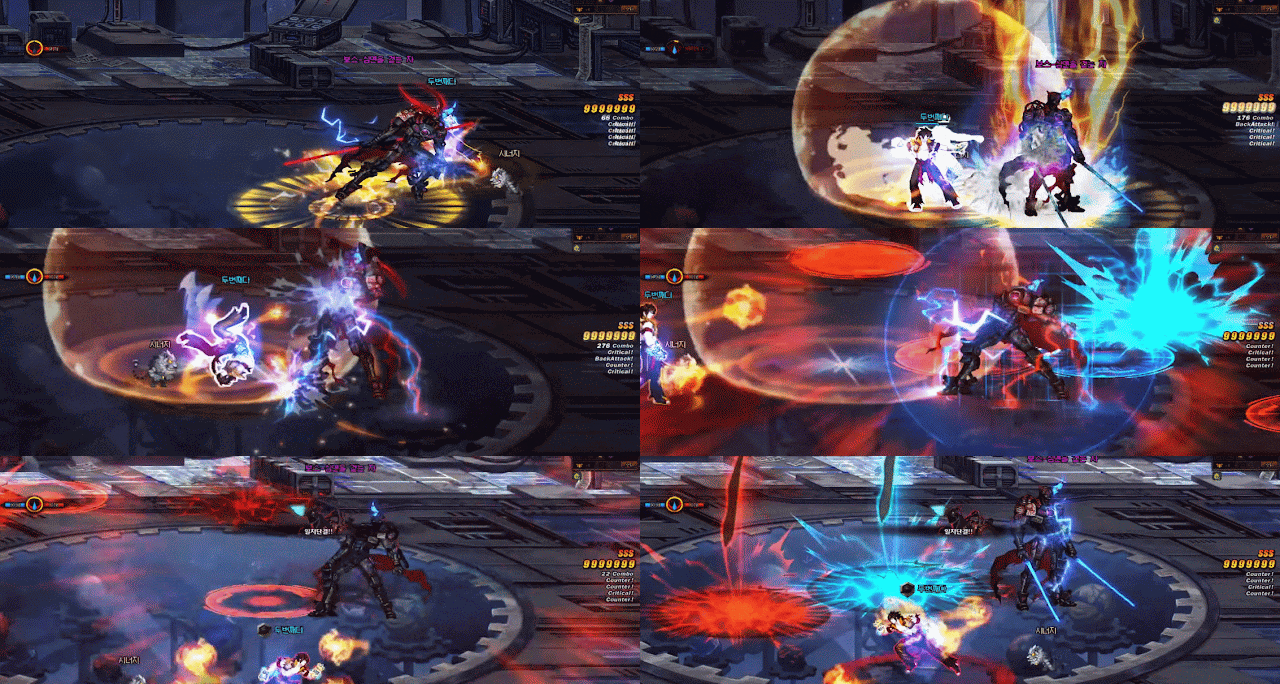
- Reactive Shield: This is a common pattern of both forms. If the percentage difference of Abyssal Gauges is more than 50% (e.g. Yashin at 90%, Veara at 40%), the current form will activate a shield and shoot lighting around the map. DO NOT break this shield (multi-hit) or you will take fatal damage. If you die from this damage, the next form he changes to will recover gauge to 100%.
- Yashin Pattern: There are other "Avoid-the-red-line" pattern, but this is the one you need to pay more attention to. He says in the middle with 4 circle pads rotating around him. After the casting bar, he do a big AoE slash.
- To avoid this, you need to get yourself a shield. Get this shield by taking the blue orbs and bring them to the rotating pads.
- Note that he will have his shadow periodically attacking you. You will lose shield if get hit.
- Veara Pattern: There are other "Avoid-the-red-line" pattern, but there are some you need to pay more attention to.
- First one is easy, he divide the map into 4 sections. You will see arrow going on each section, these arrows indicate when that section is on fire.
- The second one has a bit more to it. First, the red orbs rotate inward (you can dodge by jumping out of the way). Then the orb combines, fly up the air and star shooting lasers on around Veara (you can dodge by staying close to Veara), then the orb smash down at Veara (you can dodge by running away), then the orb send out a shock wave (you can dodge by jumping).
Phase 2
- This phase activates when his HP get below 50%. In this mode, Yashin and Veara combine together and fighter as one body. You can tell when this mode activate when he do like a Super-Saiyan scream causing lasers everywhere.
- During this phase, his patterns are very similar to phase 1. They just have a few modifications (like the one below)
- Self-destruct: This pattern activates when HP is at 1%. You will see a purple casting bar above him. He will have mini HP bar, and damage him enough will stop the self-destruct sequence. If you don't do it in time, he will go kaboom, dealing fatal damage.

1.jpg)


.png)
.png)
.png)


.png)
.png)


No comments:
Post a Comment